


|
Quantity
|
Out of stock
|
||
|
|
|||
|
|
|||
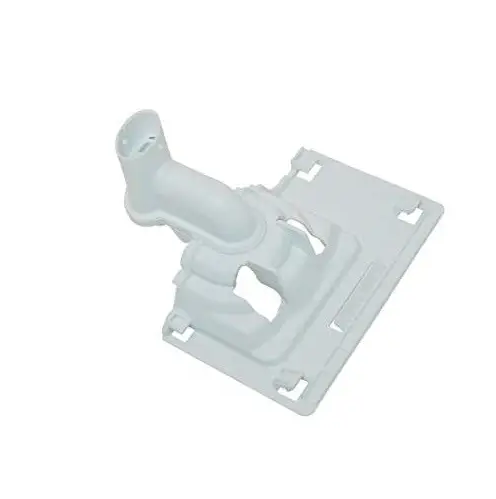
Water supply distribution assembly for Ariston dishwasher (C00110526)
Product description: The water supply distribution assembly (C00110526) is an essential part for Ariston and Indesit dishwashers. This component is responsible for evenly distributing water inside the machine, ensuring effective dishwashing. The size of the assembly is 50x50x50 mm, making it compatible with several models, allowing for easy replacement of outdated or damaged parts.
Technical specifications and compatibility
| Parameter | Value |
|---|---|
| Size | 50x50x50 mm |
| Compatible models | Ariston CISLI480A, Ariston CISLI420, Ariston LI480A (37303710000), Ariston CISLI480A (37341430000), Ariston LI640A (37295120200), Indesit IDE44EU, Indesit DWF70S, Indesit IDE1000EU.2 (37428700000), Indesit IDE44EU (37304230000), Indesit IDE44EU (37304230900) |
How to choose the right product
When selecting the water supply distribution assembly, it is important to consider the following points:
- Check compatibility with your dishwasher model using the list of compatible models.
- Ensure that the assembly size matches the original part (50x50x50 mm).
- If there are similar parts, compare their specifications and materials.
Possible causes of malfunction and prevention methods
Malfunctions of the distribution assembly can occur for the following reasons:
- Clogging: food residues and grease can block the pathways. Regular cleaning of filters helps prevent this.
- Wear: continuous use can lead to natural wear of parts. It is recommended to periodically check the condition of the assembly.
To prevent wear, keep the inside of the machine clean and use special dishwashing detergents that do not leave residue.
Difficulty of part replacement
Replacing the water supply distribution assembly has a medium level of difficulty. It is recommended to follow this procedure:
- Disconnect the dishwasher from electricity and water supply.
- Remove the front panel to access the assembly.
- Detach the old assembly, carefully disconnecting the tubes and fasteners.
- Install the new assembly, following the instructions for reconnection.
- Check the tightness of the connections and reassemble the panel.
- Turn on the device and check the operation of the new assembly.
Despite the medium difficulty, with basic repair skills and tools, the replacement can be done independently.