


|
Quantity
|
Out of stock
|
||
|
|
|||
|
|
|||
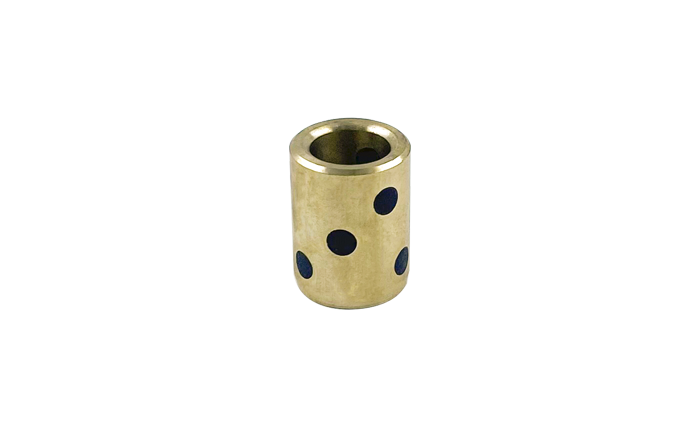
JDB bronze-graphite sliding bushing
General information:
The JDB sliding bushing is a high-quality component designed for use in various mechanical systems, such as multicookers, bread makers, climate control equipment, and general-purpose mechanisms. Made from a bronze alloy with graphite components, it provides reliable reduction of friction and wear, contributing to the durability and stable operation of the equipment.
Technical specifications:
- Inner diameter: 8 mm (±0.1 mm)
- Outer diameter: 12 mm (±0.1 mm)
- Height: 16 mm (±0.1 mm)
- Material: bronze alloy with graphite elements
- Quantity per package: 1 pc.
- Country of manufacture: China
How to choose the right bushing:
When selecting a JDB sliding bushing, it is important to consider the following points:
- Sizes: Ensure that the inner and outer diameters, as well as the height of the bushing, meet the requirements of your device. Remember the allowable deviations (±0.1 mm).
- Material: Choose bushings made from bronze-graphite alloy to ensure high anti-friction properties and wear resistance.
- Compatibility: Check that the bushing is suitable for your device (multicooker, bread maker, etc.) to avoid installation issues.
Causes of failure and prevention methods:
The sliding bushing may fail for the following reasons:
- Wear due to insufficient lubrication.
- Overheating due to excessive loads.
- Corrosion from exposure to aggressive environments.
To prevent premature wear, we recommend:
- Regularly check the condition of the mechanism and replace the bushing if necessary.
- Avoid overloading and monitor the operating conditions of the device.
- Use the devices according to the manufacturer's recommendations.
Difficulty of replacement:
Replacing the JDB sliding bushing has moderate difficulty and can be done independently by following these steps:
- Disconnect the device from the power supply and allow it to cool down.
- Remove the casing and access the mechanism with the bushing.
- Remove the old bushing by carefully prying it out.
- Install the new bushing, ensuring correct orientation.
- Reassemble the device and conduct a test check.
Note that special tools may be required for replacement. If you lack experience, it is better to consult a specialist.