


|
Quantity
|
Out of stock
|
||
|
|
|||
|
|
|||
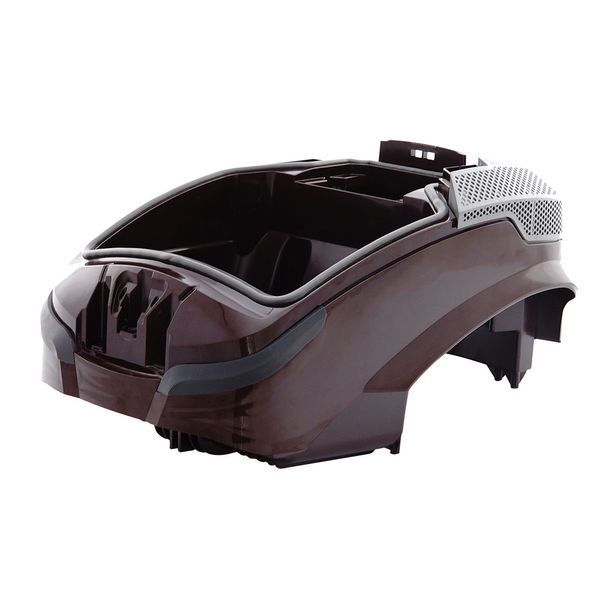
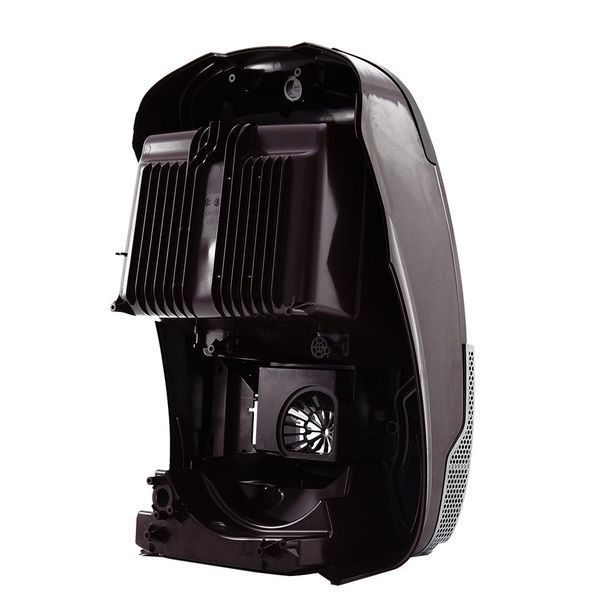
Upper housing for Thomas Parkett Master XT vacuum cleaner (108515)
Product description: The upper housing for the Thomas Parkett Master XT vacuum cleaner (108515) is an essential part of the vacuum's structure, providing protection for internal components and the filtration system. This housing is designed for Thomas Parkett Master XT models, making it a reliable choice for restoring the functionality of your device. The housing is made from durable material, ensuring longevity and protection against mechanical damage.
Technical specifications and compatibility
| Specification | Value |
|---|---|
| Model | Thomas Parkett Master XT |
| Part number | 108515 |
| Material | Plastic |
This housing is compatible only with Thomas Parkett Master XT vacuum cleaners. Before purchasing, ensure that your vacuum matches this part number.
How to choose the right product
When selecting the upper housing for your vacuum cleaner, pay attention to the following points:
- Compatibility with your vacuum model. Make sure the specified part number (108515) matches your device.
- Condition of the material. Check for cracks or damage on the housing, as this may affect its functionality.
- Quality of assembly. Prefer original parts to avoid installation and operational issues.
Possible causes of malfunction and methods to prevent wear
Common causes of failure for the upper housing of a vacuum cleaner include:
- Mechanical damage caused by dropping the vacuum or impacts;
- Wear from prolonged use without regular cleaning;
- Corrosion or water damage if the vacuum was used improperly.
To prevent wear, follow these recommendations:
- Regularly clean the vacuum of dust and dirt, especially around the housing area.
- Avoid drops and impacts against hard surfaces.
- Use the vacuum only as intended, avoiding operation in damp environments.
Difficulty of part replacement
Replacing the upper housing of the Thomas Parkett Master XT vacuum cleaner (108515) does not require special skills and can be done independently. Prepare the necessary tools, such as a screwdriver, and follow this step-by-step guide:
- Disconnect the vacuum from the power supply and ensure it has cooled down.
- Remove the old housing by unscrewing all fasteners.
- Install the new housing, ensuring it is securely in place.
- Screw in all screws and check that the housing is firmly attached.
In terms of difficulty, the replacement of the housing is rated as low, and will take about 15-30 minutes.