


|
Quantity
|
Out of stock
|
||
|
|
|||
|
|
|||
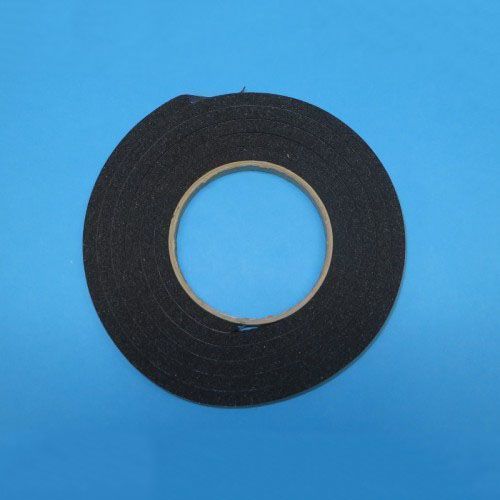
Self-adhesive seal for Gorenje cooktop (390632)
Product description: The seal for the Gorenje cooktop provides reliable protection against moisture and dirt, extending the lifespan of your appliance. This self-adhesive seal, measuring 2150 mm in length, is ideal for various models of Gorenje cooktops, ensuring a tight seal between the glass and metal parts of the device. This component is especially important for maintaining optimal temperature and preventing food and water from entering the cooktop's mechanisms.
Technical specifications and compatibility
| Specification | Value |
|---|---|
| Length | 2150 mm |
| Type | Self-adhesive |
Compatible models:
- Gorenje EC600E (170527, SKP641-4)
- Gorenje EC620S (170528, SKP621-4)
- Gorenje selec+KI600E (172123, SKP621-4)
- Gorenje ED61X (236896, EKP205B)
- Gorenje ED61AX GOR (271656, EKP205B)
- Gorenje EC600E (161200, SKP641-4)
- Gorenje ECT64E-HL (625184, SVK64T-4)
- Gorenje EC620E (170398, SKP621-4)
How to choose the right product
When selecting a seal, it is important to consider the following points:
- The length of the seal should match the size of your cooktop.
- Ensure compatibility with the device model listed above.
- Check that the seal has a self-adhesive backing for easy installation.
Possible causes of failure and prevention methods
The seal may fail for several reasons:
- Aging of the material due to high temperatures.
- Mechanical damage during cleaning or use.
- Improper installation leading to tears.
To prevent rapid wear of the seal, it is recommended to:
- Regularly clean the surface of the cooktop and seal from dirt.
- Avoid using aggressive chemicals during cleaning.
- Check the condition of the seal and replace it at the first signs of damage.
Difficulty of part replacement
Replacing the seal is a fairly simple operation that can be done by yourself. Follow these steps:
- Disconnect the cooktop from the power supply for safety.
- Remove the old seal by gently peeling it off the surface.
- Clean the installation area of any adhesive residue and dirt.
- Measure the required length of the new seal and cut if necessary.
- Adhere the new seal, starting from one edge and pressing it evenly against the surface.
- Check the installation for correctness and ensure that the seal fits tightly.
The difficulty of replacement can be rated as low, and it will take no more than 30 minutes of your time.