


|
Quantity
|
Out of stock
|
||
|
|
|||
|
|
|||
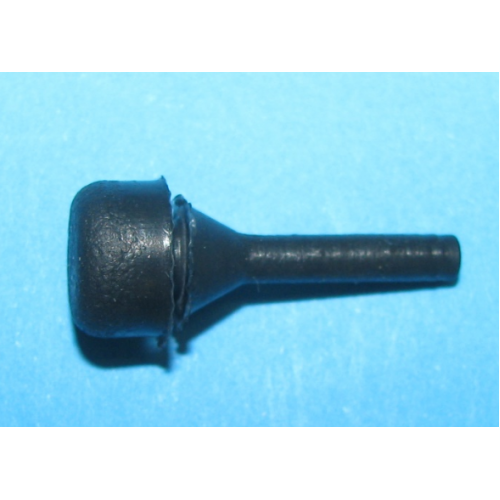
Seal, gasket for Gorenje stove (235270)
The seal, gasket for Gorenje stove (part number 235270) is designed to seal various components of stoves, ensuring reliable operation and preventing leaks. This component is essential for maintaining the efficiency and safety of your appliance. It is compatible with Gorenje models and other brands such as Asko, Franke, Kuppersbusch, and many more.
Technical specifications and compatibility
| Model | Compatible part numbers |
|---|---|
| Gorenje | BC615E11X (731114, EV331-D544M), BC611E01XK-2 (476303, EV311-D844M), BC6306ZX (297765, EV231-D744M), etc. |
| Asko | CC962618W-400V (728743, FR614F-AEEQ2), CC96168W-400V (728652, FR614A-CEDQ2), etc. |
| Franke | CF55MCO/N (522584, EVP231-444M) |
| Kuppersbusch | SHG5330.OW (730950, FG513A-IPD7B), GH606.4E (293382, P21A1-16VT) |
| HISENSE | BI3221AX (733465, EVP331-443M), BI3221AB (733466, EVP331-443M) |
How to choose the right product
When selecting a seal, be sure to consider the following points:
- Stove model: Ensure that the seal is compatible with your model. Check the list of compatible models in the table above.
- Size and shape: Measure the old seal to ensure the new one fits in size and shape.
- Material: Check that the seal material is resistant to high temperatures and chemicals, if necessary for your use.
Possible causes of failure and prevention methods
Causes of seal failure may include:
- Wear: Over time, seals may lose their elasticity and sealing ability due to high temperatures and frequent use.
- Mechanical damage: Impacts and careless handling can lead to damage to the seal.
To prevent premature wear, follow these recommendations:
- Regularly check the condition of the seals.
- Handle the stove carefully, avoiding strong impacts.
- Avoid overheating the stove to prevent damage to the seals from high temperatures.
Difficulty of part replacement
Replacing the seal does not require special skills and can be done independently. Follow these steps:
- Disconnect the stove from the power supply.
- Remove the old seal by gently pulling it away from the surface.
- Clean the surface of any remnants of the old seal and dirt.
- Install the new seal in place, pressing it evenly.
- Check the sealing and reconnect the stove to the power supply.
The difficulty of replacement can be rated as low, and the process will take no more than 30 minutes.