


|
Quantity
|
Out of stock
|
||
|
|
|||
|
|
|||
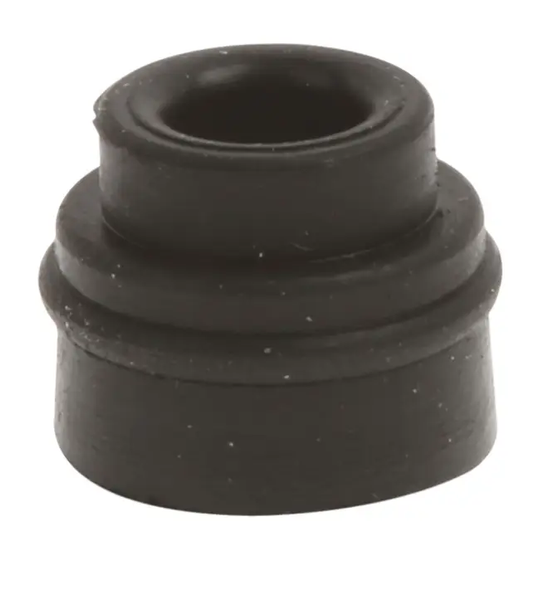
Seal for Bosch iron and steam generator (00189059)
The seal for Bosch iron and steam generator (part number 00189059) is an essential component that ensures airtightness during the operation of the device. It is designed for models such as TDA1503GB SENSIXX MOTOR STEAM, TDS1135 sensixx steam generator, and many others, making it a versatile solution for Bosch users.
Technical specifications and compatibility
| Part number | 00189059 |
|---|---|
| Compatible models | TDA1503GB, TDS1135, TDS1035, TDA1503UC, TDA1510, TDA1503CH, TDI90283TH, TDS12SPORT, TDS1215, TDS1217, TDS1014, TDI902431E, TDS1119, TDI903031A, TDI903231H, TDI953222T, TDS1220GB, TDI953022V, TDI902839A, TDS1017GB, TDI903239A, TDS1216, TDI902839W, TDI9010GB, TDS1006GB, TDI9015GB, TDS1003CH, TDS1023, TDI903231A, TDS1229, TDS1115, TDI9025GB, TDI902836A, TDS1210, TDS1225, TDS1016GB, TDA1503, TDS1015, TDS1130, TDI9020GB, TDI90EASY, TDI953222V, TDS1003, TDS1102, TDS1135GB, TDI9080GB, TDI9032314, TDS1112, TB15303CH, TS12XTRM24, TS12150, TB15303, TB15310, TS10503, TS11120, TSI803210, TS12XTRMW, TSI802810, TS11XTRM, TS10512, TS12250, TS11333, TS11EXTREM, TS11XTRM24, TS12XTRM, TS10515, PL1300, PV4122 SOLIUM 80, PV4121UK SOLIUM, PV4121 SOLIUM, PV4121UK-MO SOLIUM |
How to choose the right product
When selecting a seal for your Bosch iron and steam generator, it is important to consider the following points:
- Check the part number (00189059) to avoid errors.
- Ensure that the seal is compatible with your device model.
- Assess the condition of the old seal: if it is worn or damaged, replacement is necessary.
Possible causes of failure and prevention methods
The main reasons a seal may need to be replaced include:
- Wear or aging of the material due to frequent use.
- Damage from mechanical impact or improper use.
To prevent premature wear, it is recommended to:
- Use the iron and steam generator according to the manufacturer's instructions.
- Regularly inspect the seal for cracks and damage.
Difficulty of part replacement
Replacing the seal does not require special skills and can be done by yourself. Follow these simple steps:
- Unplug the device and allow it to cool down.
- Remove the old seal by carefully pulling it out of the groove.
- Clean the installation area of any remnants of the old seal and dirt.
- Install the new seal, ensuring a snug fit.
- Plug the device back in and check its operation.
The difficulty of replacement can be rated as low, and it will take just a few minutes.