


|
Quantity
|
Out of stock
|
||
|
|
|||
|
|
|||
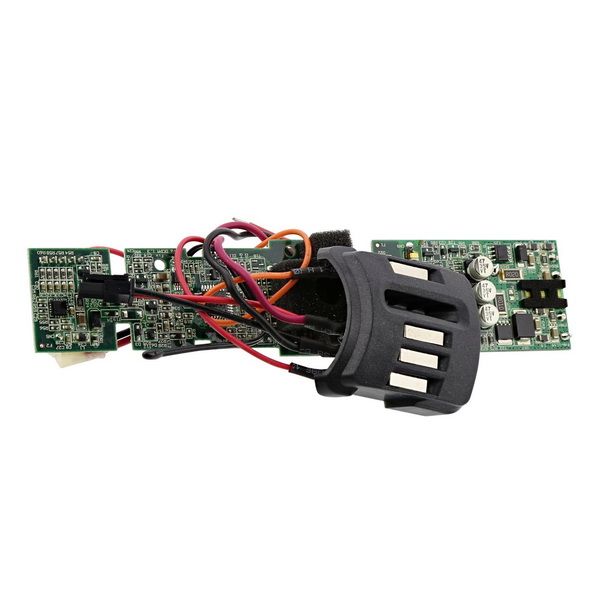
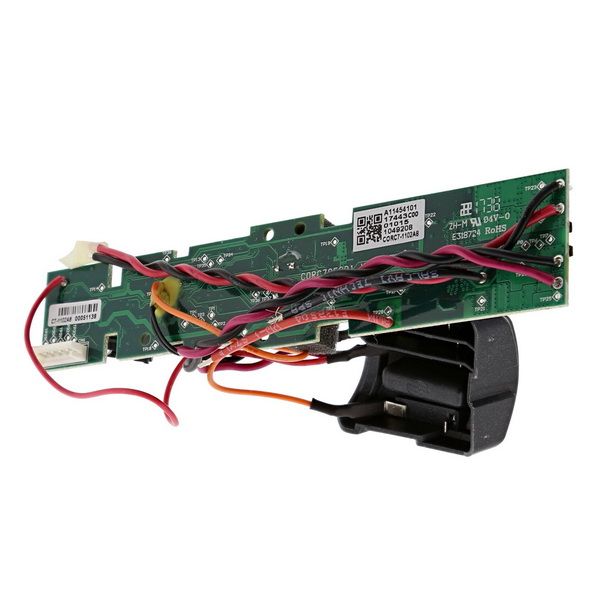
Control board for Electrolux C7-1102A19 18V cordless vacuum cleaner (4055477527)
The control board is a key component of the cordless vacuum cleaner, ensuring its smooth operation. This board is designed for Electrolux and AEG models, including EER79EBM, QX8, and others. It manages all functions of the vacuum cleaner, including its power, operating modes, and battery charging.
Specifications and compatibility
| Parameter | Value |
|---|---|
| Model | C7-1102A19 |
| Voltage | 18V |
| Compatible models | EER79EBM, QX8-1-45SS, QX8-1-45CR, EER7ANIMAL, EER79SWM, EER7ALLERGY, CX7-2-45AN, MX7-7000, ZB3323B, ZB3324B, ZB3325B, and many others. |
How to choose the right product
When selecting a control board, ensure it is compatible with your vacuum cleaner model. Compare the part number (4055477527) with your existing board, and check the voltage (18V). If you are unsure about compatibility, it is recommended to consult the vacuum cleaner manual or a specialist.
Possible causes of malfunction and prevention methods
Malfunctions of the control board can occur due to:
- Overheating from prolonged use.
- Short circuits due to moisture exposure.
- Wear of board components over time.
To prevent wear, follow these recommendations:
- Avoid overheating the device; allow it to rest during long cleaning sessions.
- Regularly clean the vacuum cleaner of dust and dirt, especially around the ventilation areas.
- Avoid using the vacuum cleaner in high humidity conditions.
Difficulty of part replacement
Replacing the control board is a task of moderate difficulty. You will need:
- A screwdriver to remove the vacuum cleaner casing.
- A new component (control board).
- The disassembly instructions for your vacuum cleaner, if available.
The replacement process includes the following steps:
- Disconnect the vacuum cleaner from the power supply and remove the battery.
- Remove the casing by unscrewing all necessary screws.
- Disconnect the old control board from the wires.
- Install the new board, connecting all wires.
- Reassemble the vacuum cleaner casing and reinstall the battery.
It is recommended to perform the replacement in a dry and dust-free environment to avoid additional issues.