


|
Quantity
|
Out of stock
|
||
|
|
|||
|
|
|||
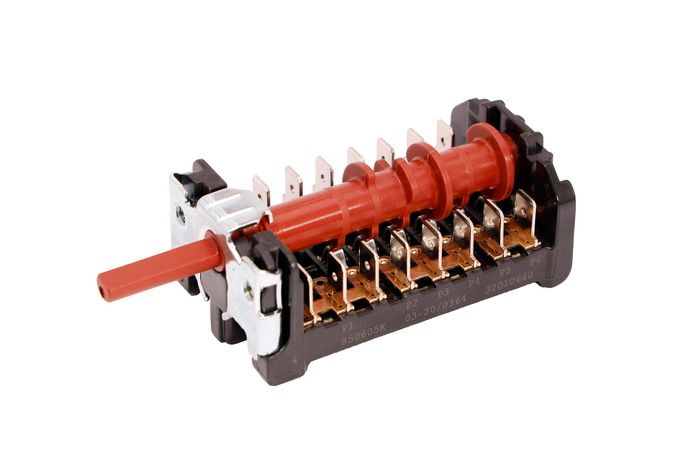
Switch for oven and electric stove Gottak 850605K, 32010640 Vestel
The switch for oven and electric stove Gottak 850605K is designed to control heating elements in various models of ovens and electric stoves. This reliable component ensures precise switching of the device's operating modes, allowing you to achieve optimal results when cooking. Use this switch to restore the functionality of your appliance and extend its lifespan.
Technical specifications
| Voltage and load | 250V~ 16(4)A / 400V~ 10(2)A |
| Number of positions | 5 (4+0) |
| Number of contact rows | 8 |
| Terminal size | 6.3 mm. |
| Body length | 71 mm. (± 2 mm.) |
| Body width | 41 mm. (± 2 mm.) |
| Shaft length | 23 mm. (± 2 mm.) |
| Shaft diameter | 6 mm. |
| Shaft diameter with flat | 4.6 mm. |
| Distance between mounting holes | 29 mm. (± 2 mm.) |
| Mounting diameter | M4 |
| Marking | 850605K, 32010640 |
| Purpose | For ovens and electric stoves |
How to choose the right product
When selecting a switch for your oven or electric stove, it is important to pay attention to the following parameters:
- Matching marking: Ensure that the part number (850605K, 32010640) matches your model.
- Electrical specifications: Check the voltage and load to guarantee compatibility with your device.
- Dimensions: Compare the dimensions of the body, shaft, and mountings with your existing components to avoid installation errors.
Possible causes of failure and prevention methods
Switches can fail for several reasons:
- Overload: Using the device at high loads can lead to rapid wear. To prevent this, monitor the maximum load values.
- Moisture and contaminants: Exposure to moisture or food can damage the switch. Regularly clean the surface of the stove and oven.
- Contact wear: Frequent switching can lead to wear. Use the switch smoothly and avoid abrupt movements.
Difficulty of replacement
Replacing the Gottak 850605K switch is a task of medium difficulty. It is recommended to follow this step-by-step process:
- Disconnect the device from the power supply for safe operation.
- Remove the front panel to access the switch.
- Disconnect the old switch, remembering the order of the wire connections.
- Connect the new switch, following the previously noted connections.
- Reattach the front panel and reconnect the device to the power supply.
- Test the new switch by turning on various modes.
Before replacing, it is advisable to review the device's manual. If you are not confident in your abilities, it is better to consult a professional.