


|
Quantity
|
Out of stock
|
||
|
|
|||
|
|
|||
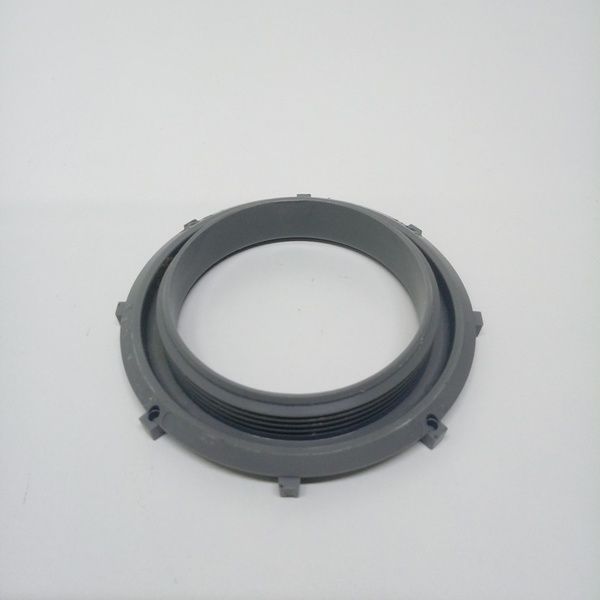
Distributor nut for Electrolux dishwasher (1526272107)
The distributor nut is an essential component of the dishwasher that is responsible for distributing water to various parts of the appliance. Replacing this nut is necessary in case of water leaks or issues with water spraying, which can negatively affect the quality of dishwashing. Our distributor nut is compatible with many dishwasher models, making it a versatile solution for repairs.
Technical specifications and compatibility
| Model | Compatible models |
|---|---|
| Electrolux | Adorina F88060VI0P, AEG F.65402VIOP, F34030IM0, F.99015IMOP, and many others |
| Arthur Martin | ASF46010, ASF4120, ASF4140 |
| Dishlex | DX103WK, DX103SK |
| Zanussi | DE4754, DA6332, DE4756 |
| Other brands | Frigidaire, Husqvarna, Moffat, and others |
How to choose the right product
To select the appropriate distributor nut, pay attention to the following parameters:
- Dishwasher model: Ensure that the nut is compatible with your model by checking the list of compatible models above.
- Part number: Verify that the part number (1526272107) matches the one required for your machine.
- Condition: Make sure the nut is free from damage or corrosion before installation.
Possible causes of failure and prevention methods
The main reasons why the distributor nut may fail include:
- Wear: Over time and under high temperatures, the nut may loosen or break.
- Corrosion: Moisture and chemicals can lead to corrosion of the nut, increasing the risk of leaks.
To extend the life of the nut, it is recommended to:
- Regularly check the condition of all components, including the distributor nut.
- Use only high-quality detergents that are safe for dishwashers.
Difficulty of part replacement
Replacing the distributor nut is a task of moderate difficulty that can take between 30 to 60 minutes. To replace it, follow these steps:
- Disconnect the dishwasher from the power supply and water supply.
- Remove the top cover or access to the distributor, depending on the model.
- Unscrew the old nut using the appropriate tool.
- Install the new nut and tighten it to the necessary level to prevent leaks.
- Reassemble all components and reconnect the machine.
If needed, consider hiring a professional if you are unsure of your abilities.